
Getting around
When you first login to Zengain you will see the dashboard and the left navigation, let's review these elements.
Left-hand navigation

Home - Brings you back to the main dashboard page.
Acquire module - Convert more trials into business won.
Adopt module - Ensure fast time-to-value when onboarding customers.
Retain module - Stop churn with super-early warnings.
Grow module - Increase revenue from existing accounts.
Reactivate module - Generate revenue from lost customers and trials.
Customers - Your customer (account) list.
Key Product Milestones - Setup your milestones for reporting.
Help - Get help and support
The Main Dashboard
This is the first page you see when using Zengain and when you have analytics events coming into the platform you will see a general summary here along with key onboarding tasks.

Insights panel - This is where you will see a list of key analytics data by date.
Customer toggle—This toggle allows the user to see all customer account data or just those they "own." The ownership parameter is added to each account with Zengain (up to three owner types per customer).
Customer alerts - This is where we see actions required to get the system running correctly. In this case, we see that we need to add owners to customer accounts when they are added or imported.
Zengain onboarding steps - This step-by-step approach to onboarding makes getting started fast and easy. Here we can see we are 25% of the way through the process, having completed the first account registration step.
Once you have completed all the steps, you will see a completed panel.

Developer's guide link - Use this link to quickly review the documentation and speed up your implementation.
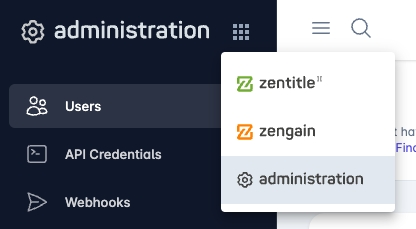
Administration
The administration section is a shared area between the applications on the Nalpeiron platform: Zentitle2 and Zengain.
This area allows you to create internal users, integrate the platform with other applications, manage security, APIs, branding, and more.
It's a great place to get started.
Last updated
Was this helpful?